How to Deep Clean Your Oven for Better Performance

This article was generated using AI and reviewed by a human editor for quality and accuracy.
A clean oven is essential for optimal performance and longevity. Not only does regular cleaning help your oven work more efficiently, but it also ensures food tastes better, eliminates odors, and reduces the risk of fire hazards. Over time, food spills, grease, and carbon build-up can affect the oven’s ability to heat evenly, which could lead to undercooked or overcooked meals. Deep cleaning your oven may seem like a daunting task, but with the right steps, it can become an easy and rewarding part of home maintenance. This detailed guide will walk you through the entire process of deep cleaning your oven, step by step.
Why Deep Cleaning Your Oven Is Important
While regular oven cleaning helps maintain performance, deep cleaning provides several key benefits:
- Improved Cooking Performance: A clean oven heats more evenly, preventing hot spots that lead to uneven cooking. Residual grease and food particles can cause inconsistent temperatures, so cleaning the interior ensures that heat is distributed effectively.
- Prevents Fire Hazards: Spilled food, grease, and oil residue can burn during cooking, causing smoke and, in the worst case, fires. Regular deep cleaning removes this build-up, reducing the risk of a dangerous fire.
- Extends the Life of the Oven: A build-up of grime can interfere with your oven’s components, causing them to wear out prematurely. Deep cleaning helps to protect your investment, extending the appliance's lifespan.
- Eliminates Unpleasant Odors: Baked-on food, grease, and spills can contribute to foul odors during cooking. Cleaning these areas will help eliminate lingering smells and ensure your oven is odor-free.
- Saves Money: With a well-maintained oven, you’re less likely to need costly repairs or replacements, and you can maintain consistent cooking results.
Now that you understand the importance, let’s dive into the step-by-step process of deep cleaning your oven for better performance.
Step 1: Gather Your Cleaning Supplies
Before you begin the cleaning process, ensure you have the necessary tools and ingredients on hand. Here’s what you’ll need:
- Baking soda: The primary ingredient in our homemade oven cleaner.
- White vinegar: For neutralizing odors and dissolving stubborn residues.
- Dish soap: Helps remove greasy stains and can be used to clean oven racks.
- Water: To mix with the baking soda and create a paste.
- Scrub brushes/sponges: Non-abrasive brushes or sponges prevent scratches on the oven’s interior.
- Microfiber cloth or towels: Ideal for wiping down the oven after cleaning.
- Plastic scraper or spatula: Helpful for removing baked-on food and tough stains.
- Gloves (optional): Protect your hands while cleaning.
- Bucket or container: For mixing the cleaning paste and soaking the racks.
Step 2: Remove All Oven Racks and Accessories
Start by removing all racks, trays, broiler pans, and any other removable parts from the oven. These items can be cleaned separately, either by hand or in a tub, while you focus on the oven’s interior. Some modern ovens come with a steam-clean feature for racks, but soaking them in hot, soapy water is often the most effective method for heavy-duty cleaning.
Step 3: Create a Homemade Cleaning Paste
One of the best non-toxic cleaners you can use for deep cleaning your oven is a baking soda paste. This natural cleaner works wonders at breaking down grease, grime, and baked-on food.
- Mix the Baking Soda Paste: In a small bowl or container, mix a half cup of baking soda with a few tablespoons of water. Stir until you achieve a thick, spreadable paste. If needed, adjust the consistency by adding a small amount of water at a time. You want the paste to be thick enough to stay on the surface but not too watery.
- Apply the Paste to the Oven Interior: Using gloves, a spatula, or your hands, apply the paste generously to the inside of your oven. Focus on areas with visible stains, grease, or food splatters. Avoid applying the paste directly to the heating elements or exposed electrical components, as this could cause damage. Be sure to coat the bottom, sides, and oven door (including any stained areas of the glass). Allow the paste to sit for 12 hours or overnight to break down the grime and grease.
Step 4: Clean the Oven Racks
While the paste is working its magic inside the oven, it’s time to tackle the oven racks. These often accumulate significant grease and food particles, so cleaning them properly is essential.
- Soak the Racks: Fill your bathtub, a large sink, or a container with hot water and add a few tablespoons of dish soap. Place the oven racks in the water, ensuring they are fully submerged. Let them soak for several hours or overnight, depending on how much grime has accumulated.
- Scrub the Racks: After soaking, use a non-abrasive scrub brush, sponge, or steel wool to scrub away the grease and grime. Pay special attention to corners and crevices where debris might be stuck. For tough stains, a baking soda paste can be applied and scrubbed off.
- Rinse and Dry: Once the racks are free from grime, rinse them thoroughly with warm water and dry them with a microfiber cloth or towel. Set them aside until the oven interior is ready for reassembly.
Step 5: Wipe Down the Oven
After the baking soda paste has had time to sit, it’s time to start wiping it away. Here’s how to proceed:
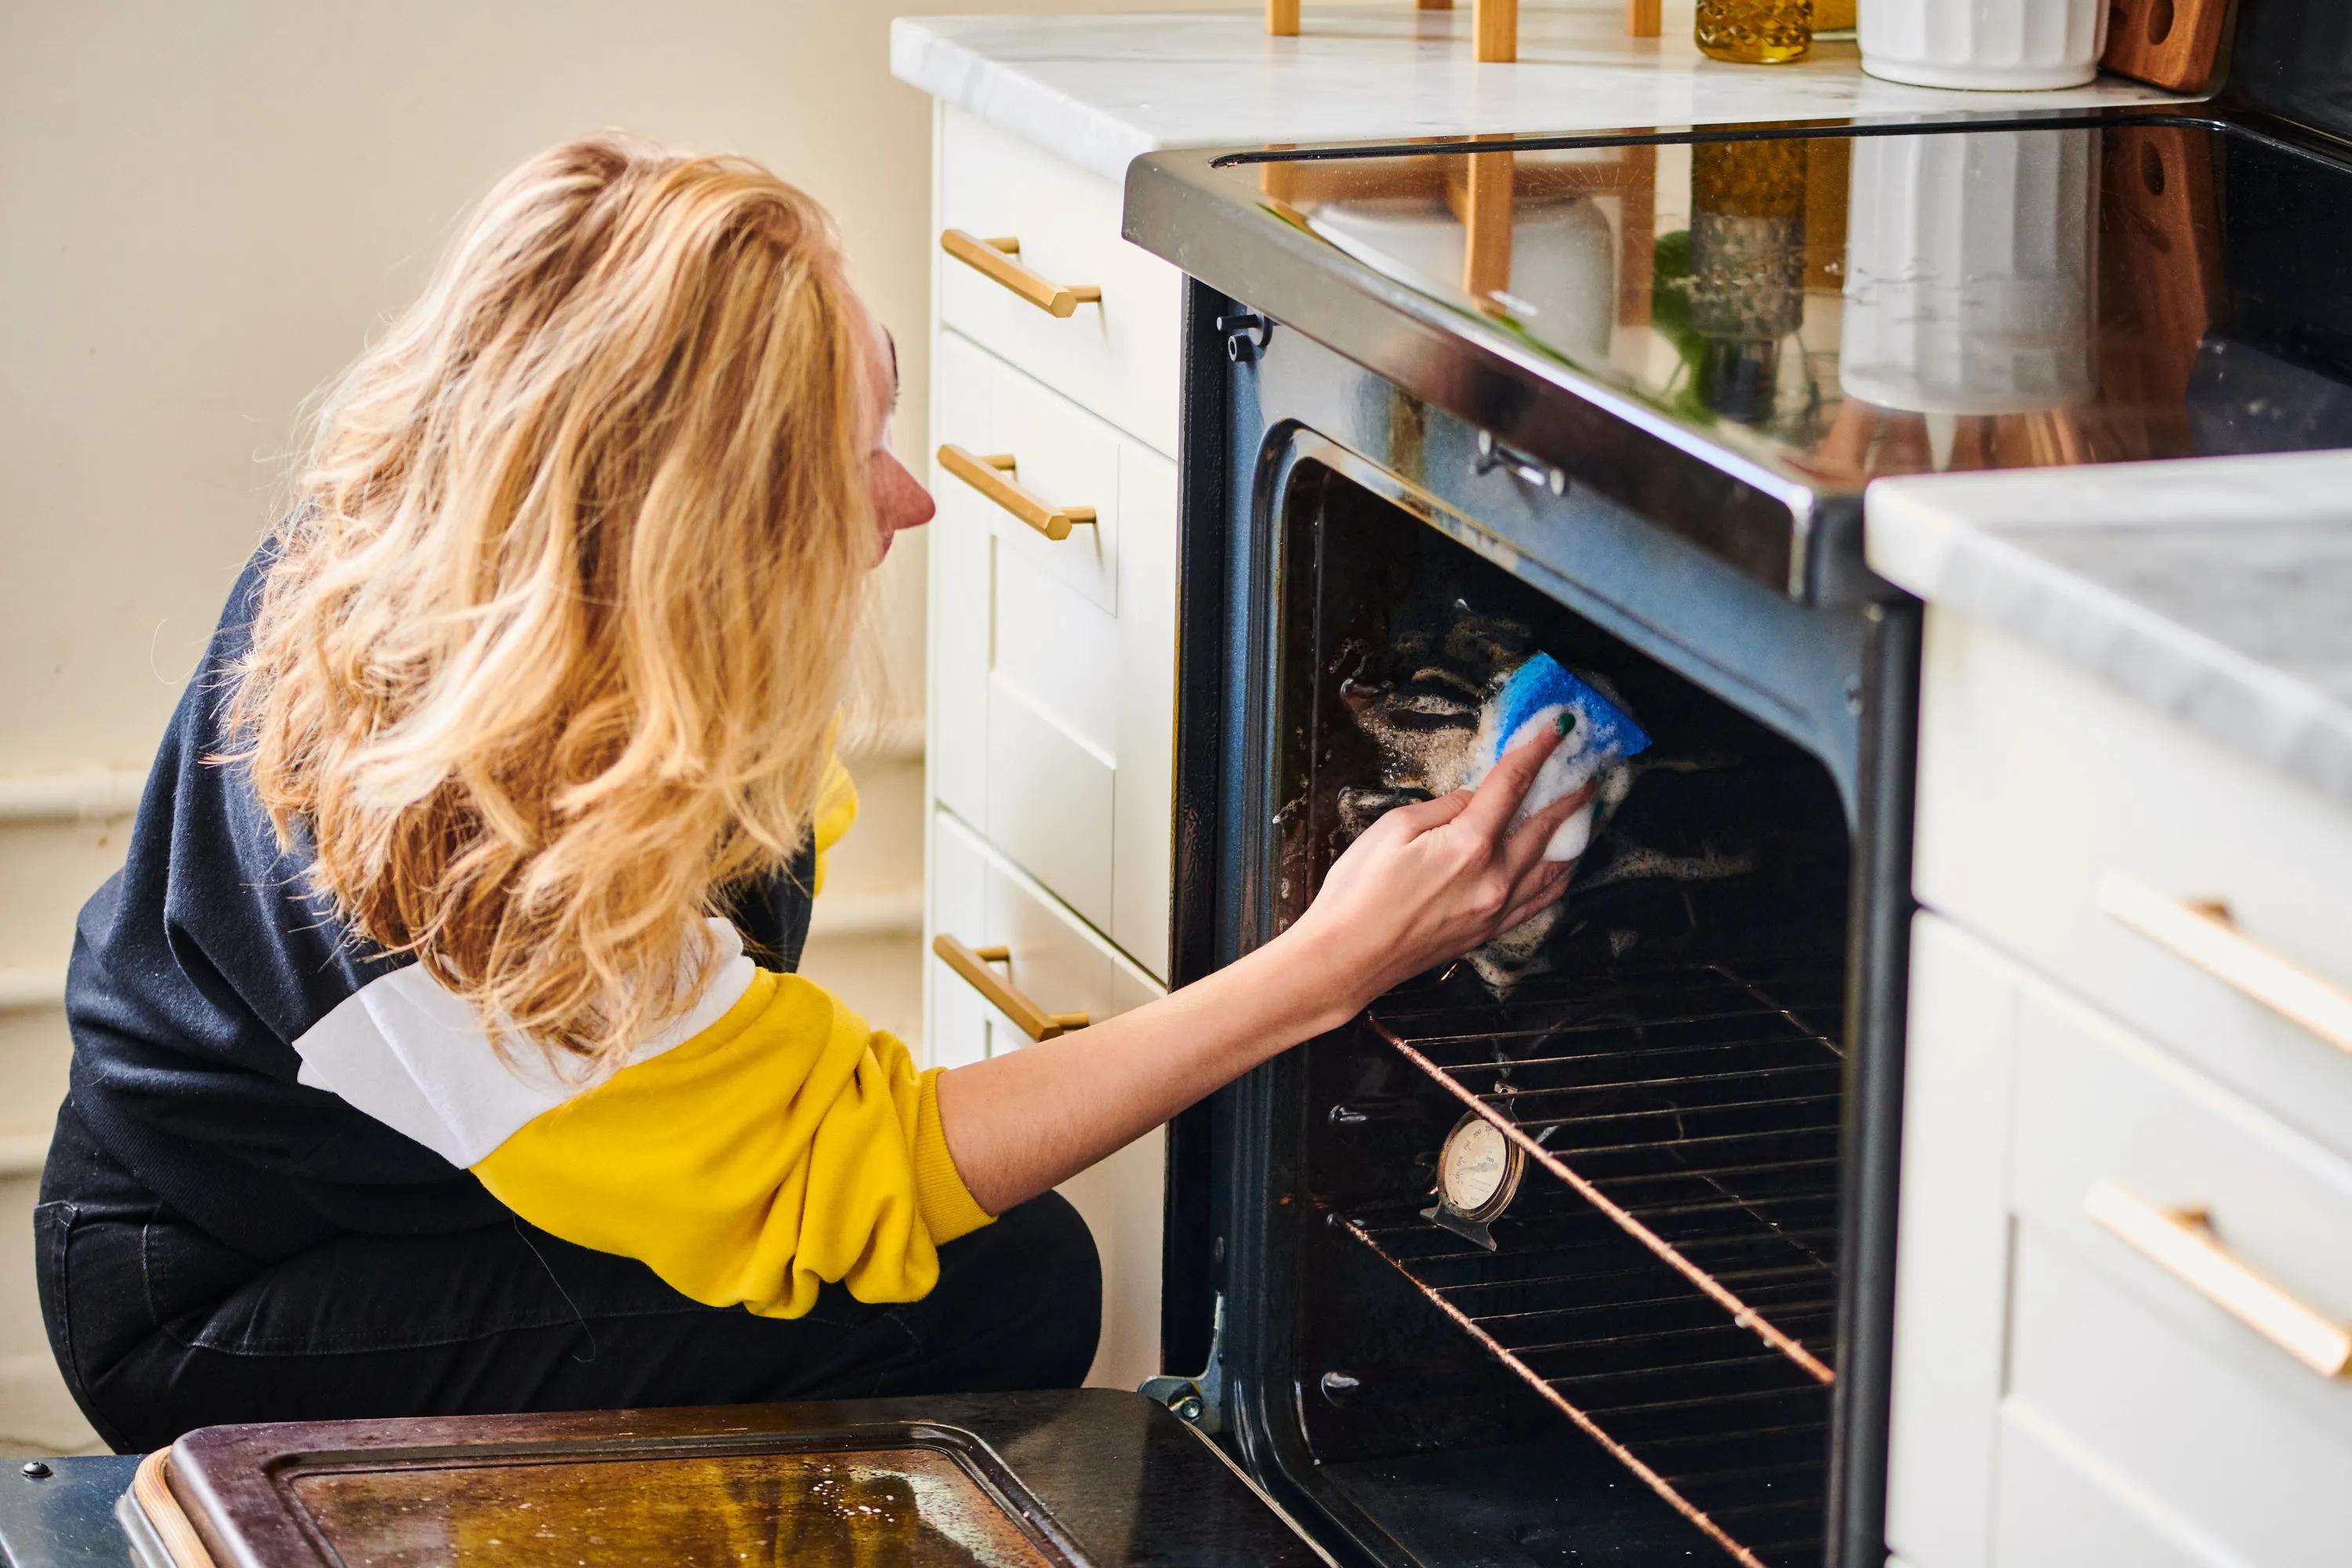
- Wipe Away the Paste: Using a damp sponge or cloth, begin wiping away the baking soda paste from the oven interior. You may need to use some elbow grease for areas with stubborn stains. For areas with thick grease, a plastic scraper can help remove the paste and grime.
- Spray with Vinegar: Once you’ve removed most of the paste, pour some white vinegar into a spray bottle and lightly spritz the oven’s interior. The vinegar will react with any remaining baking soda and foam up, making it easier to wipe away. Use a damp cloth to wipe off the residue, leaving the oven sparkling clean.
Step 6: Clean the Oven Door
The oven door can accumulate grease and fingerprints, so it’s essential to clean it thoroughly. Here's how to approach it:
- Apply Baking Soda Paste: Use the same baking soda paste to clean the glass and surrounding areas of the door. Apply the paste to the inside of the door and let it sit for 15 to 20 minutes.
- Scrub and Rinse: After the paste has sat, use a soft cloth or sponge to scrub away any grease and stains. For glass cleaning, you can also use a commercial glass cleaner or a mixture of water and vinegar to achieve a streak-free finish.
- Use a Razor Blade for Stubborn Spots: If there is tough residue on the glass, use a razor blade at a 45-degree angle to gently scrape it off. Be cautious not to scratch the glass.
Step 7: Clean the Oven Exterior
The exterior of your oven is just as important as the interior. Dirty knobs, handles, and oven exteriors can make your oven look neglected.
- Wipe Down with Soapy Water: For the oven’s exterior, use a mild dish soap solution to wipe down the surfaces. Be sure to clean the knobs, handles, and control panels carefully, as these parts often accumulate grease and fingerprints.
- Stainless Steel: If your oven is made of stainless steel, use a dedicated stainless-steel cleaner or a vinegar-water solution to remove smudges and fingerprints. Always wipe in the direction of the grain to avoid scratching.
Step 8: Reassemble and Test the Oven
After everything is clean and dry, reassemble the racks and any other removable components you took out earlier. Before using your oven again, test it by heating it to a moderate temperature (about 350°F). Monitor the oven to ensure it heats up evenly and operates without issue.
Additional Tips for Maintaining a Clean Oven
- Prevent Spills: Line the bottom of your oven with a silicone mat or aluminum foil to catch spills and make cleaning easier. Just be careful not to block the air vents or heating elements.
- Regular Maintenance: Perform a lighter cleaning every month, focusing on wiping down the oven interior and cleaning the racks. This will help prevent the build-up of grease and grime.
- Use the Self-Cleaning Feature (if available): Many modern ovens come with a self-cleaning mode that uses high heat to burn off food residue. While effective, always follow the manufacturer’s instructions when using this feature to avoid damaging your oven.
Final Thoughts
Deep cleaning your oven not only keeps it performing at its best but also contributes to a healthier, safer kitchen. With the right tools and techniques, you can remove tough stains, grease, and build-up, ensuring that your oven remains in top condition. Regular cleaning will prolong the life of your appliance, prevent potential problems, and make every meal you cook taste just a little bit better.
By following these steps, you can easily deep clean your oven and improve its cooking performance!
FAQs
1. How often should I deep clean my oven?
It’s recommended to deep clean your oven every 3–6 months, depending on how frequently you use it. If you cook greasy foods or use your oven for roasting and baking often, consider cleaning it more frequently to prevent build-up. Regular light cleaning after each use can also help reduce the need for intensive deep cleaning.
2. Can I use oven cleaners from the store instead of a homemade solution?
Yes, commercial oven cleaners can be effective for deep cleaning, but they often contain harsh chemicals. If you prefer a more natural, non-toxic approach, a baking soda and vinegar mixture is a safe and effective alternative. However, always follow the manufacturer's instructions for any commercial cleaners and ensure proper ventilation during use.
3. Can I clean the oven while it is still warm?
It’s important to let your oven cool down completely before starting any cleaning process. Cleaning a hot oven can be dangerous and might cause burns. Let the oven cool for at least an hour before you begin.
4. My oven has a self-cleaning feature. Should I use it?
The self-cleaning feature in many modern ovens uses extremely high temperatures to burn off food residues and grease. While this feature can be convenient, it’s important to follow the manufacturer's guidelines. Self-cleaning should not be used on a daily basis, as it can stress the oven’s components over time. Additionally, it might not be effective for all types of grease or heavy residue.
5. How do I clean the oven door?
Cleaning the oven door requires attention to both the glass and surrounding areas. A paste made from baking soda and water can be applied to the glass, then scrubbed gently. For particularly tough stains or grease, you may need a razor blade to scrape the glass carefully. Be sure to wipe the door down afterward with a vinegar-water solution for a streak-free finish.
Take Your Appliance
Knowledge from Good to Great
Just Ask Al is your go-to expert platform to connect, share, and learn — together. Join the Community on Facebook to get expert insights, tips, and more.
Collaborate with fellow appliance enthusiasts today!
38,000+ members and growing
Join the community today—everyone is welcome!


Take Your Appliance Knowledge With You On The Go!
Just Ask Al is your go-to expert platform to connect, share, and learn — together. Join the Community on Facebook to get expert insights, tips, and more.
Collaborate with fellow appliance enthusiasts today!